


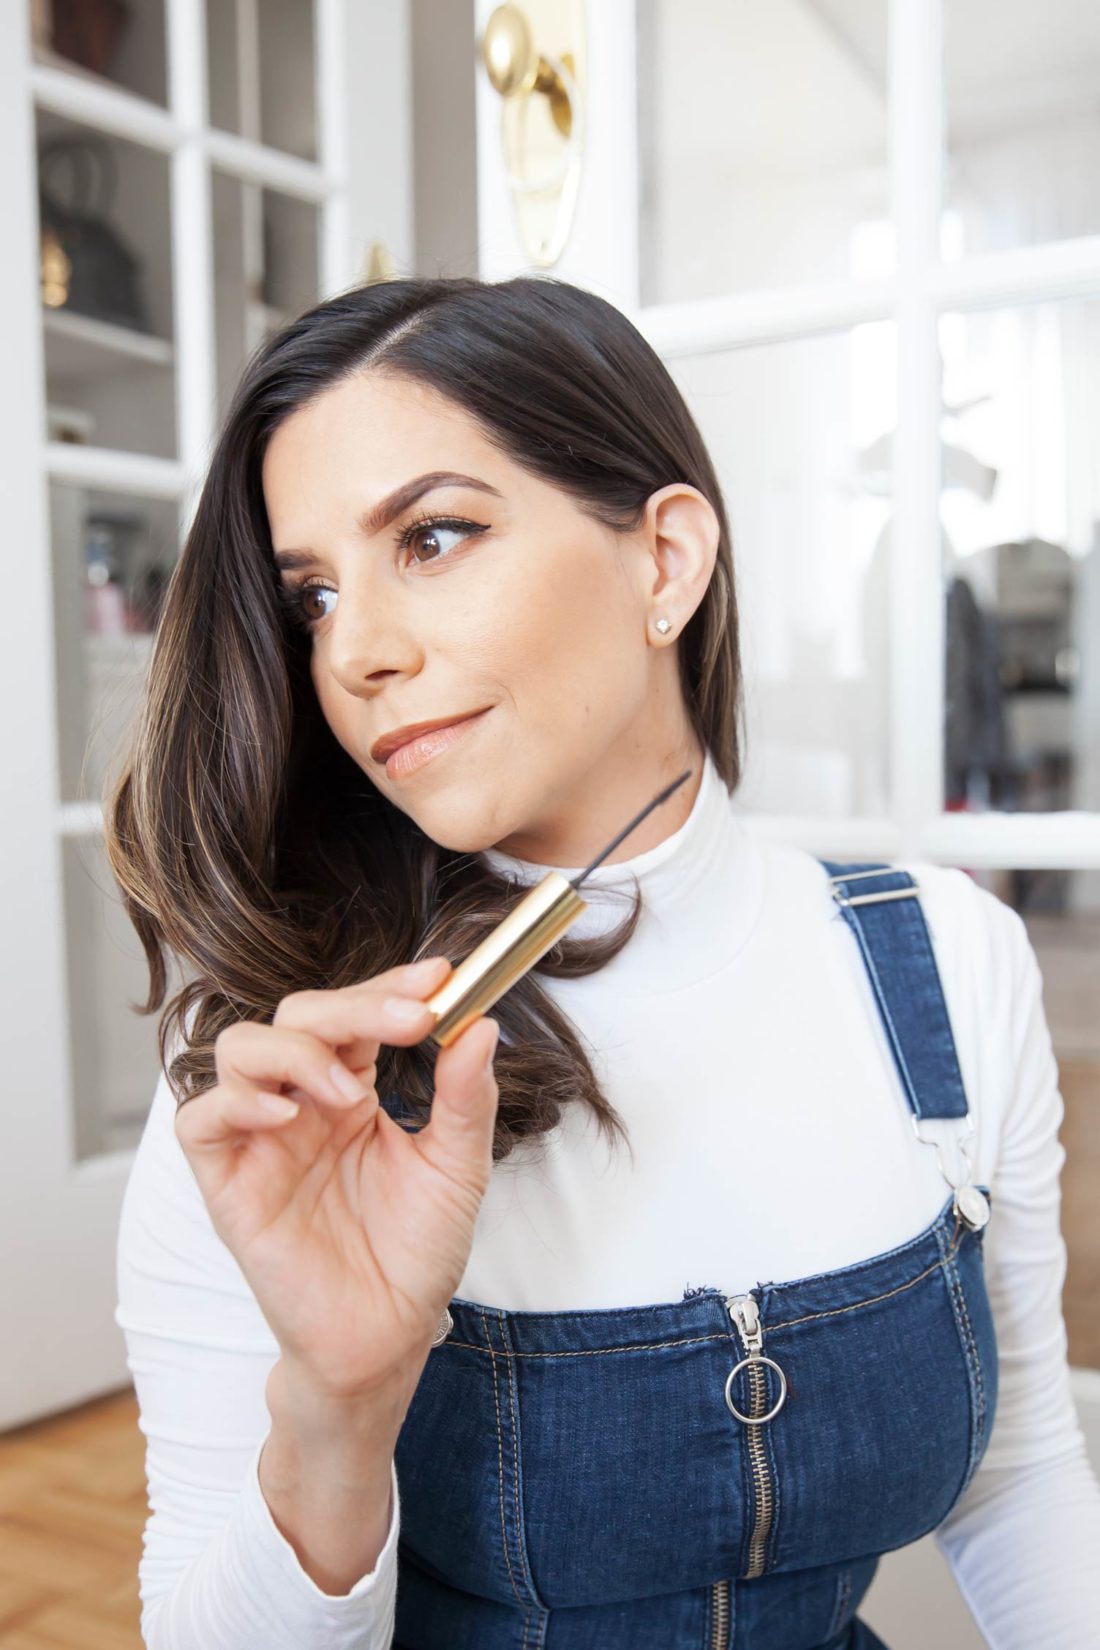
Everything I use on my Brows
The highly requested brow tutorial is now live on my Instagram. Hope you all enjoy the video. I’d love to start doing more of these short and sweet tutorials and as much as I love creating still image content, it’s been a nice change of pace to create video content. Perhaps, I’ll start with doing more hair videos as this has always been something I love to share and the most requested content from my readers. I have detailed the steps to my brow tutorial below and included the products I use to get the look.
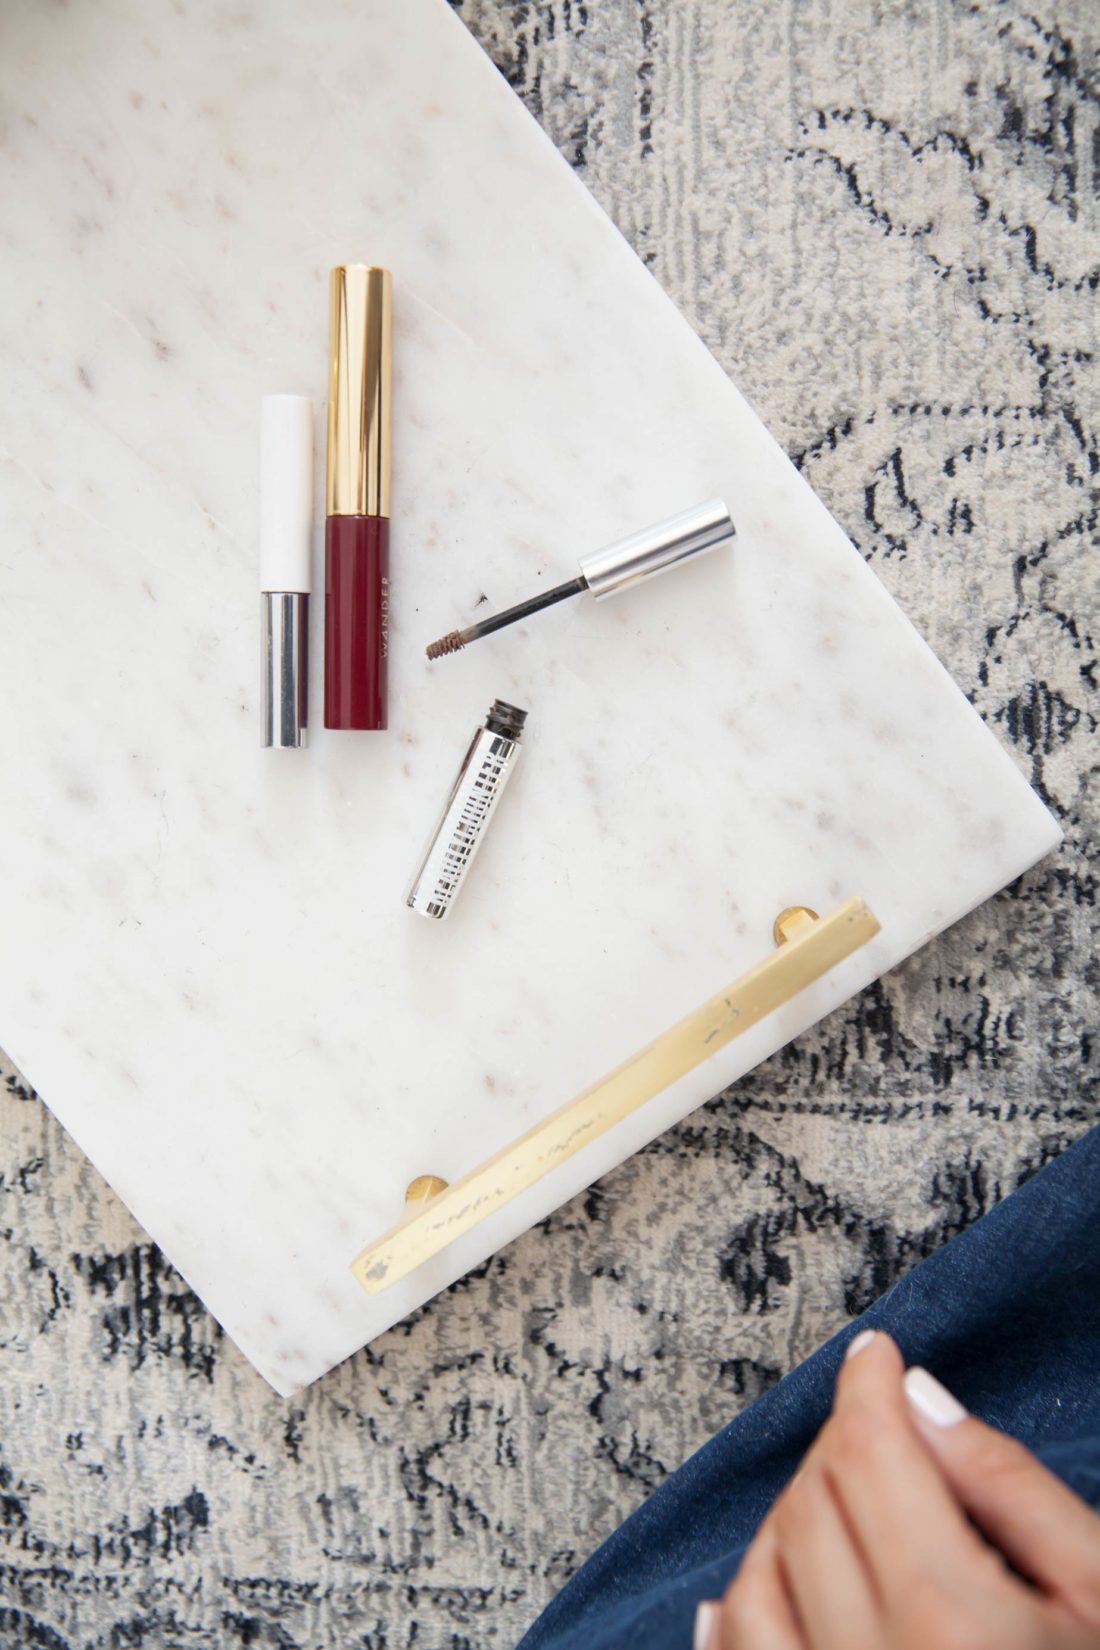
Step 1: Fill
In this step, I use a brow gel to fill the brow by brushing all my hair in an upward motion. For tinted brow gel, I make sure to only use a small amount. The Wander Beauty brow gel has been my favorite lately, but I also love Boy Brow and Beauty Counter. As for clear brow gel, Anastasia has some of the best on the market.

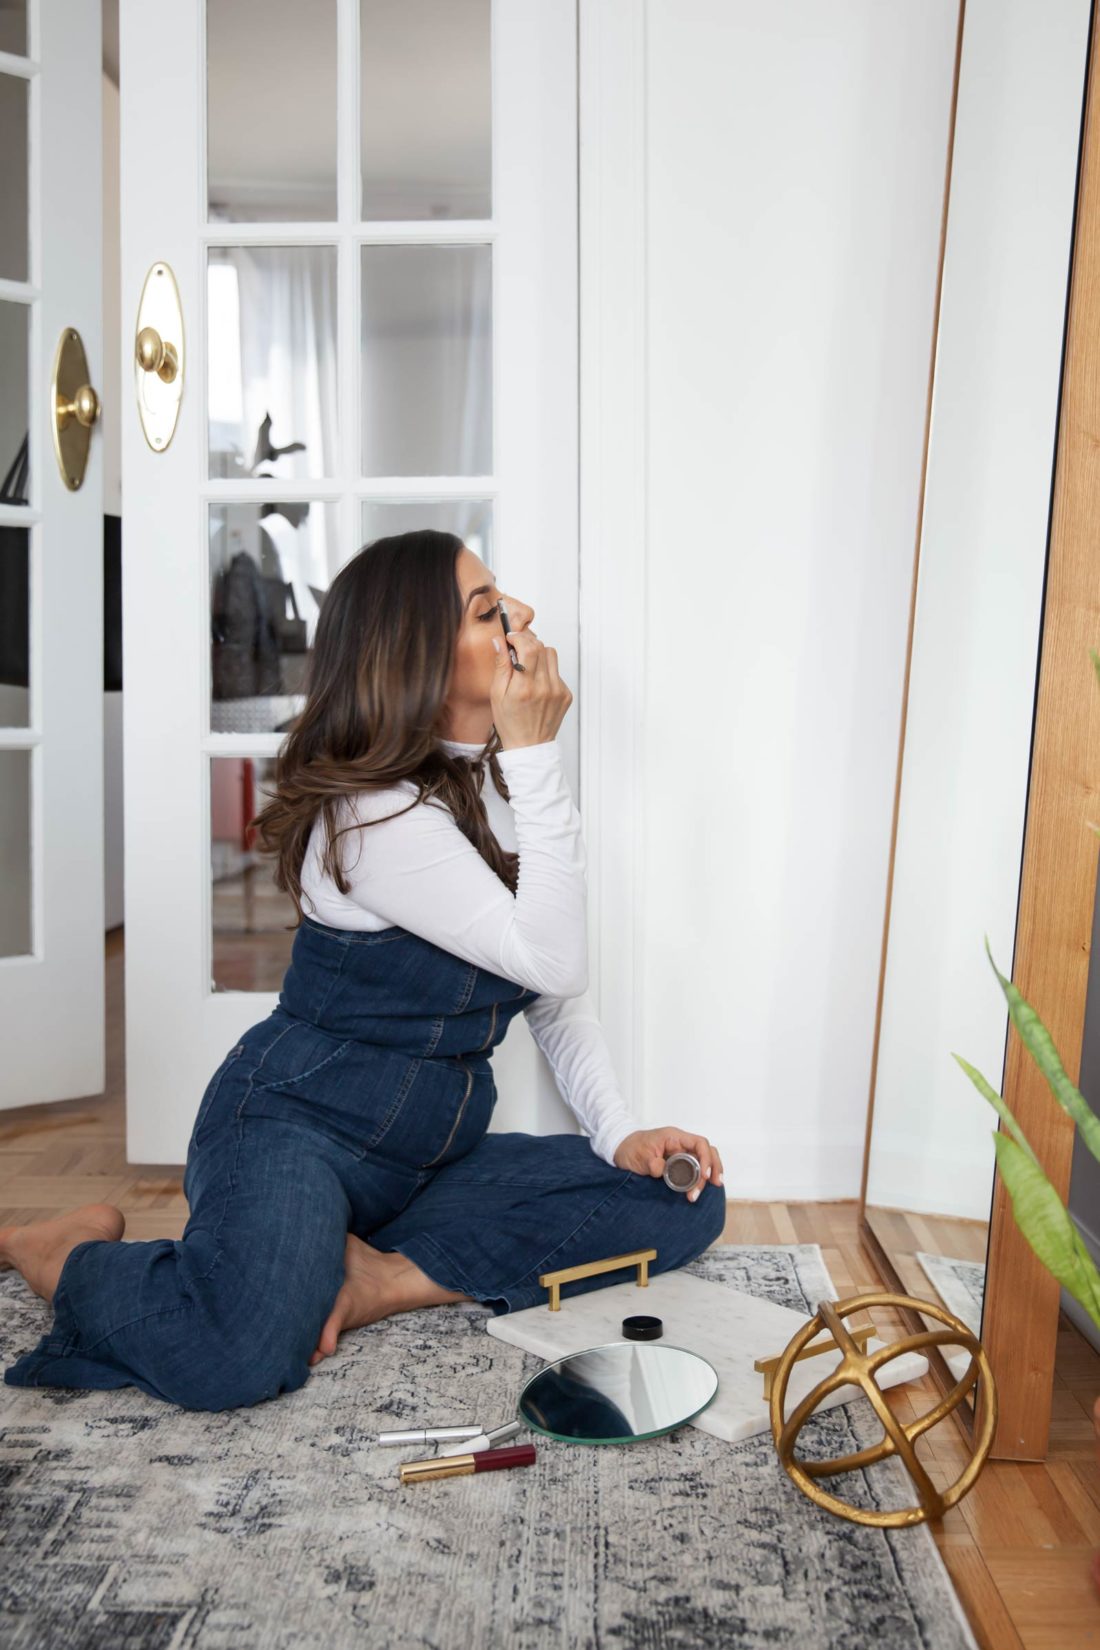
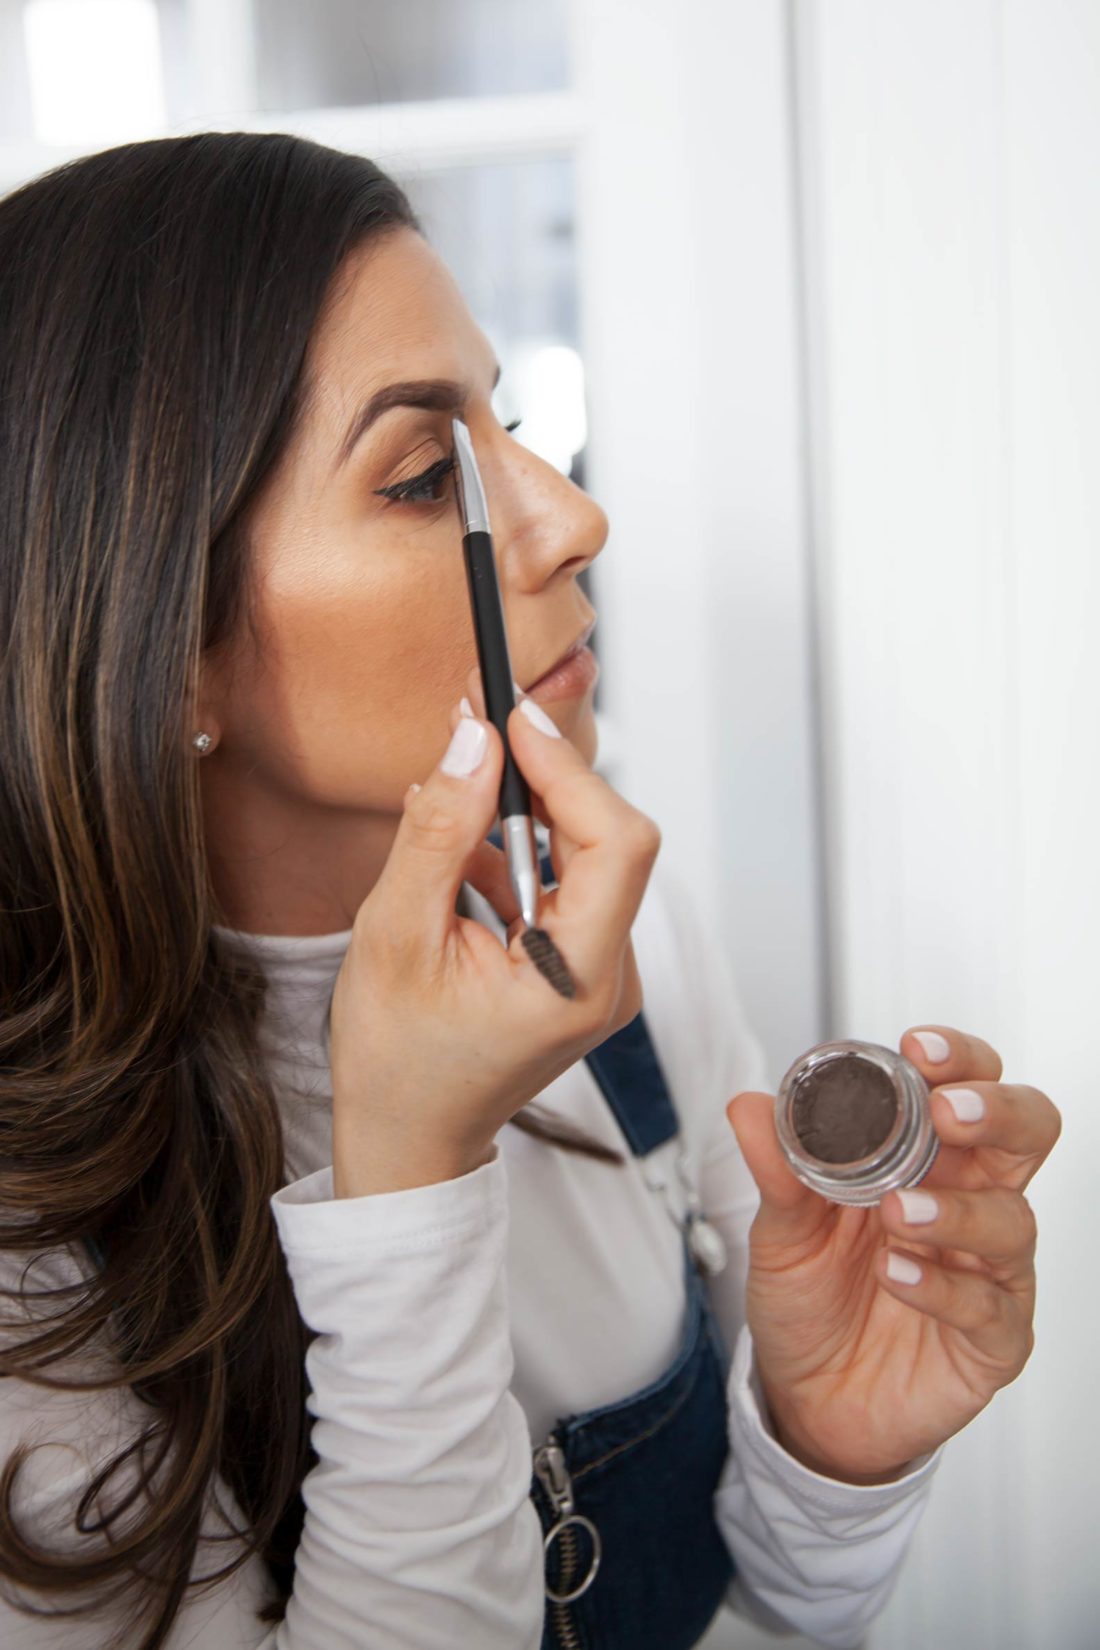
Step 2: Shape
Using the Sephora brow brush and Anastasia DIPBROW pomade to shape the brow. When getting the dipbrow, I highly recommend going a shade lighter so your brows don’t look too dark. I’m using Medium Brown, but plan on going a shade lighter the next time I refill this product.
Lightly dip your brush in the pomade. Dab off any excess product and lightly apply to the bottom of your brow. This is where you want to outline the shape of your brow. Then I’ll move to the top part of the brow. I will start a few centimeters from the beginning of my brow to make it look more natural and less boxy. Then lightly fill in the brow with the rest of the product on the brush. A little goes a long way with the pomade.

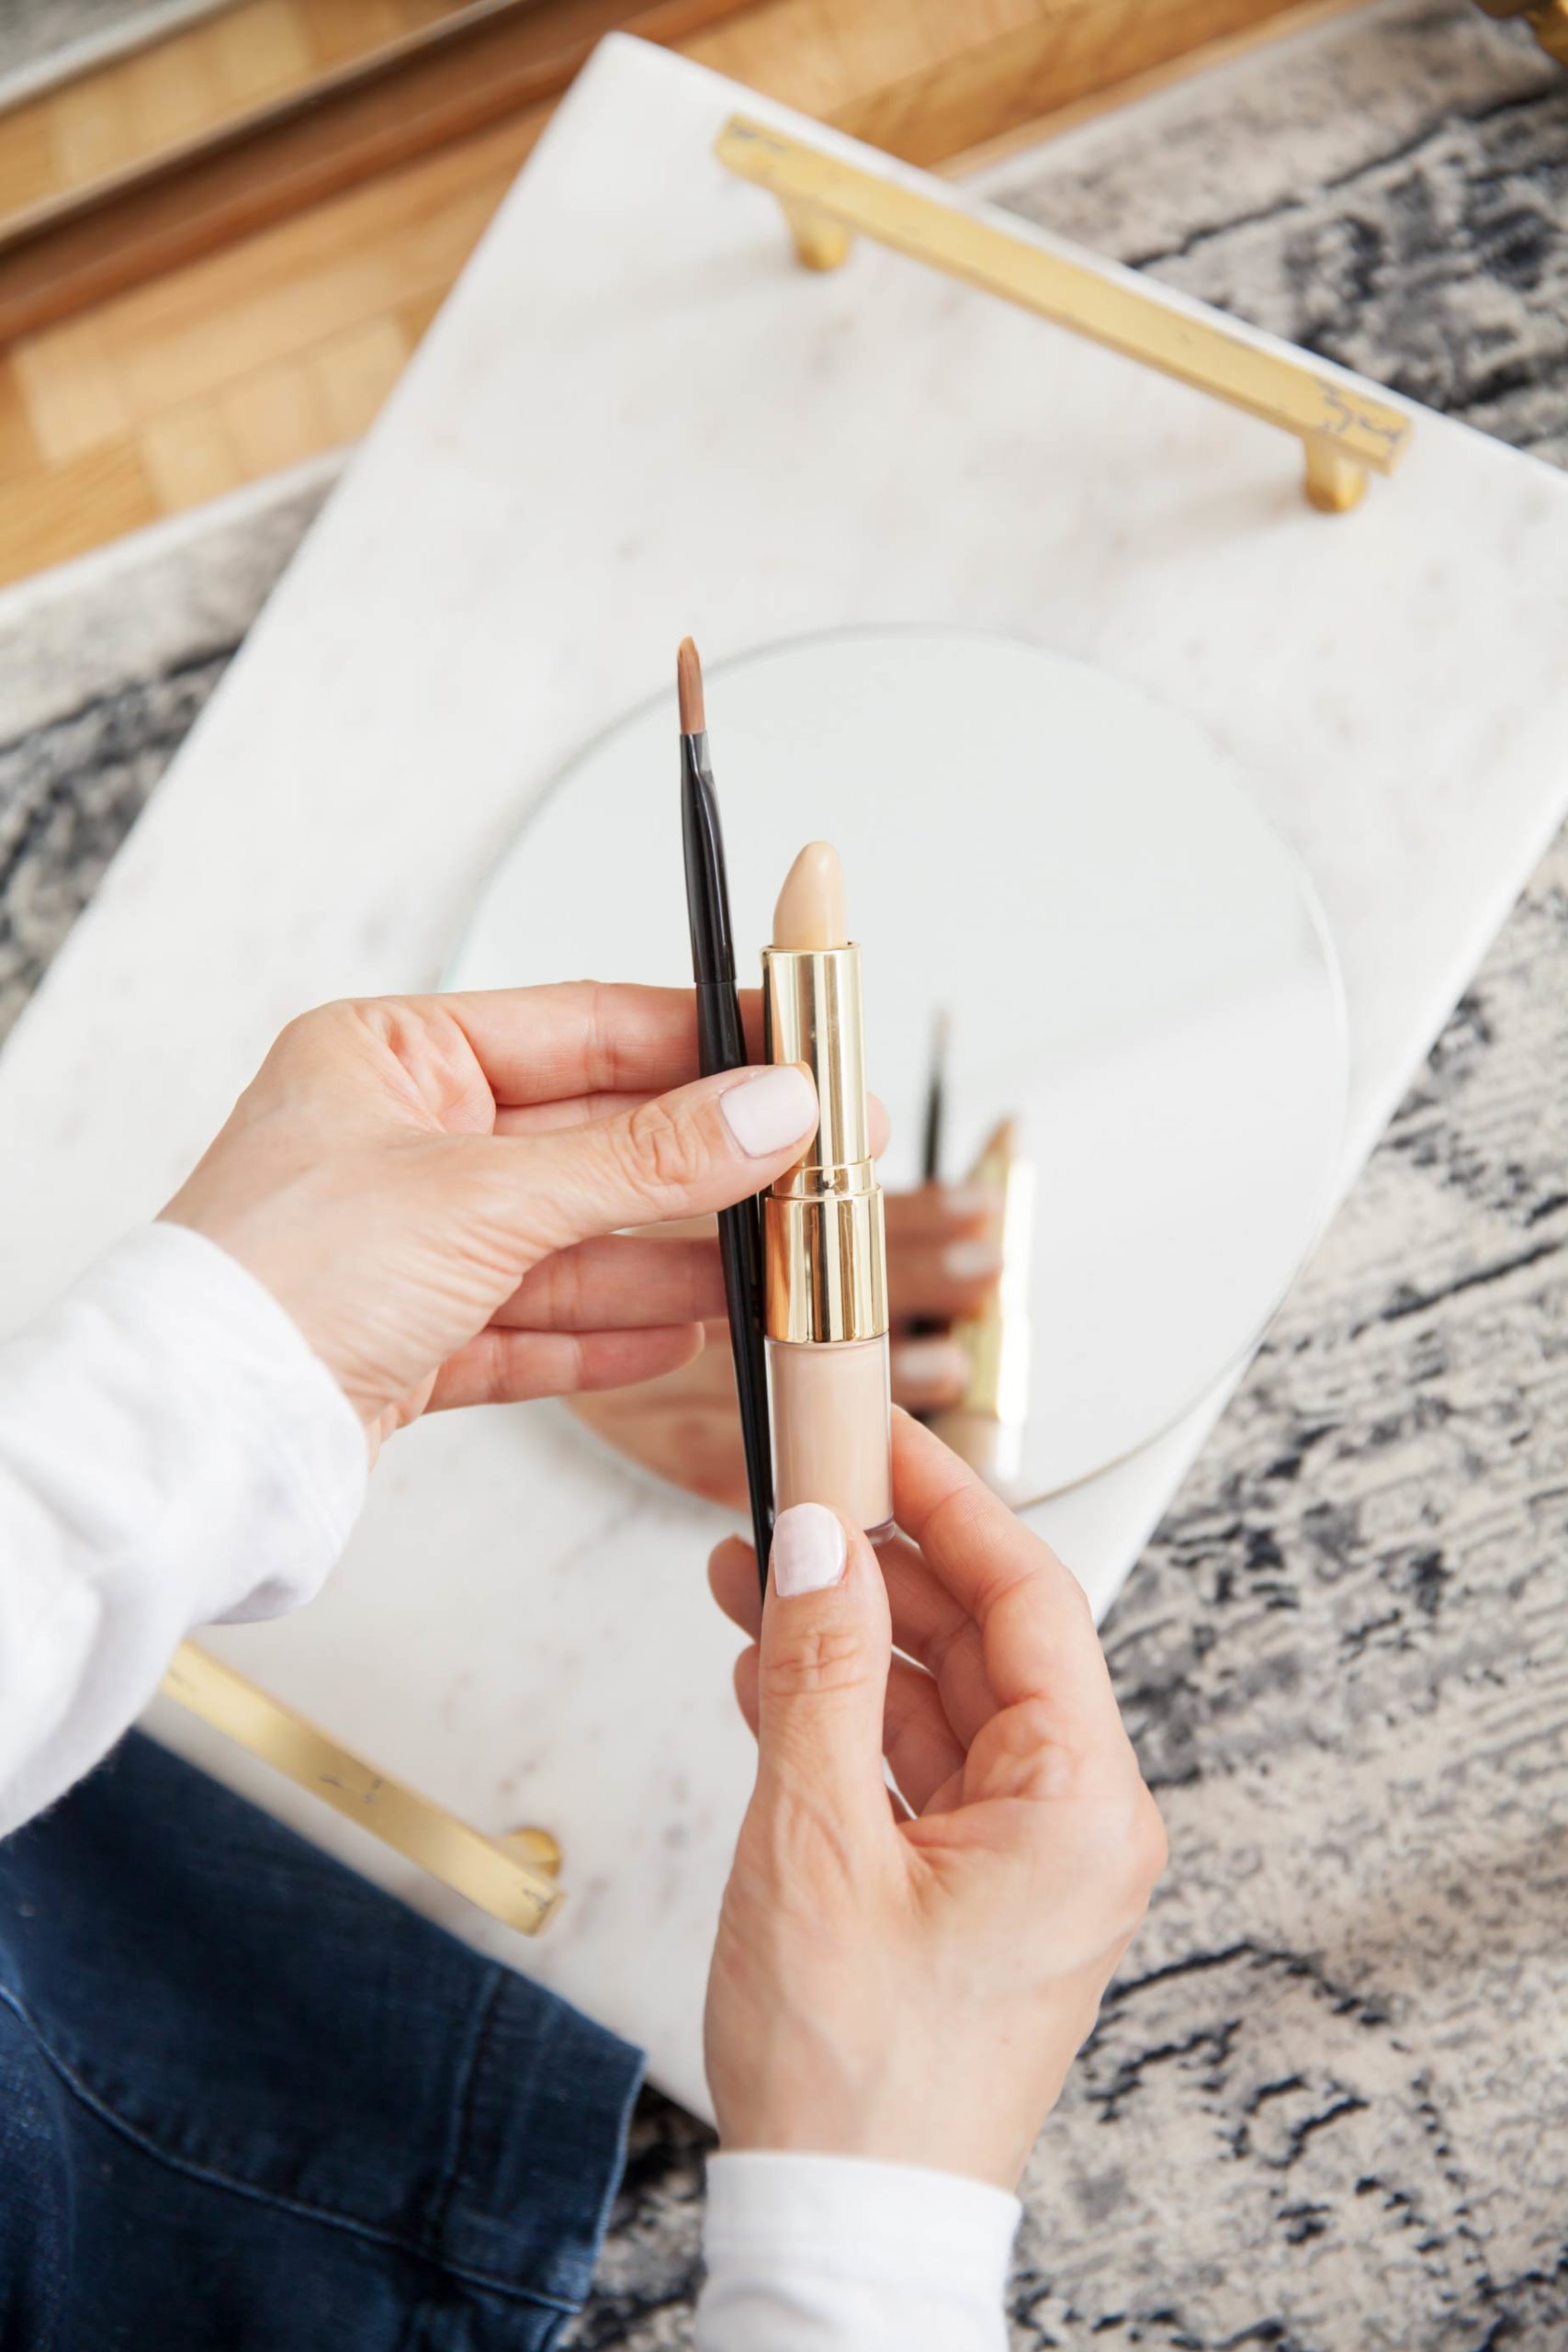
Step 3: Define
Outline the brow with a concealer or foundation. This is the step I’ve been missing in my brow routine. It’s what defines the brows and make them “pop”. I’m using Bobbi Brown’s concealer brush (an amazing brush for your collection) and Wander Beauty concealer. Any concealer works but I just like the way I can apply this concealer to shape the brows. A little product goes a long way. You just want to clean up the edges and lines of your brows. If you have extra product, I use the beauty blender to blend in with the rest of my makeup.
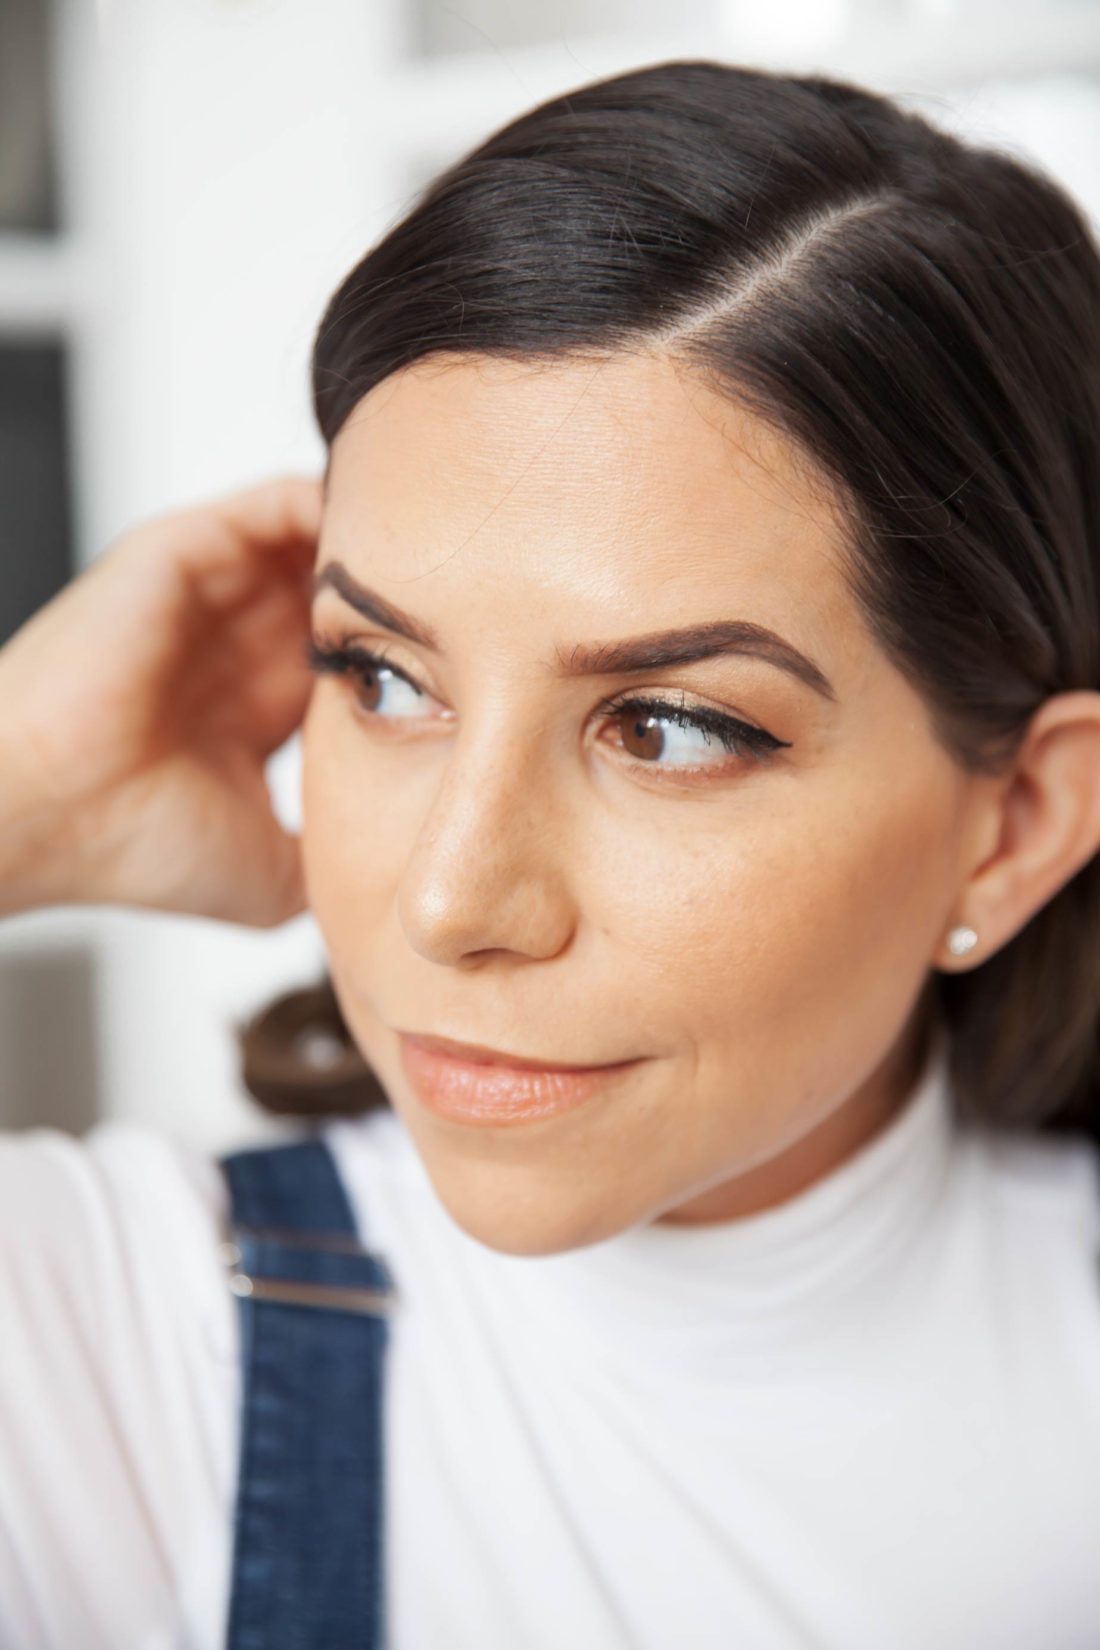
And that’s all! If you think your brows look too thick, use a small brush and apply translucent powder. Let it sit for a few minutes and lightly blend with a spoolie. Next time I’ll share this tip! It really works when you get carried away with product.
Thanks for stopping by! Let me know if there are any other makeup tutorials you’d like to see on the blog or social media in the comment section.
xo, Olivia


0 Comments