


This Week in Beauty | The Perfect At Home Mani
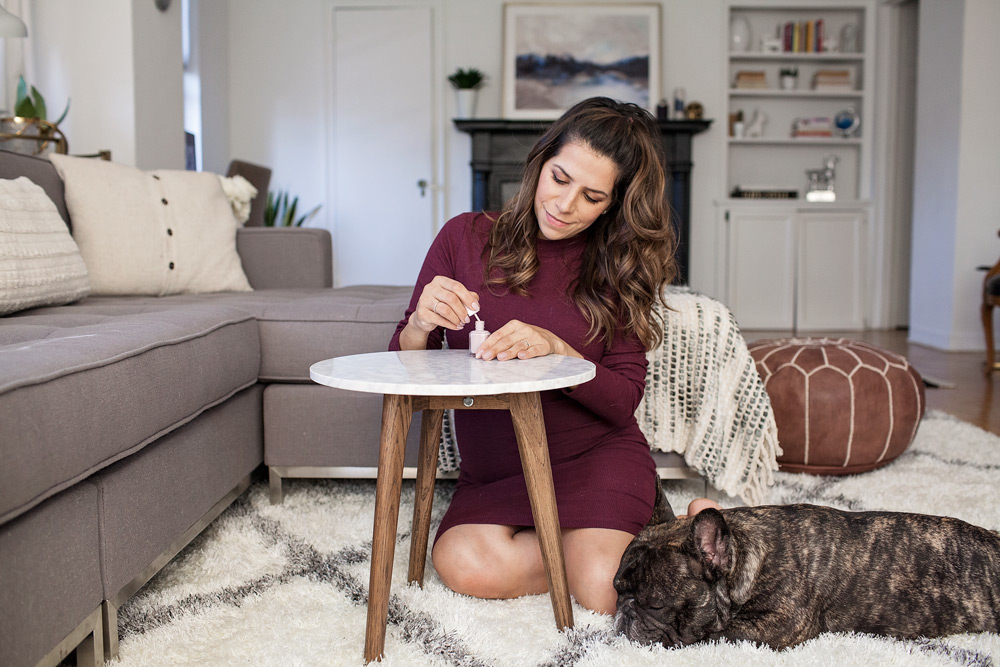
If you’re anything like me, finding time or motivation to go get my nails done doesn’t always happen. My nail salon is literally a half block down the street. For those days that you don’t feel like being in a salon and just want a nice mani that doesn’t chip, here’s the perfect at home mani!
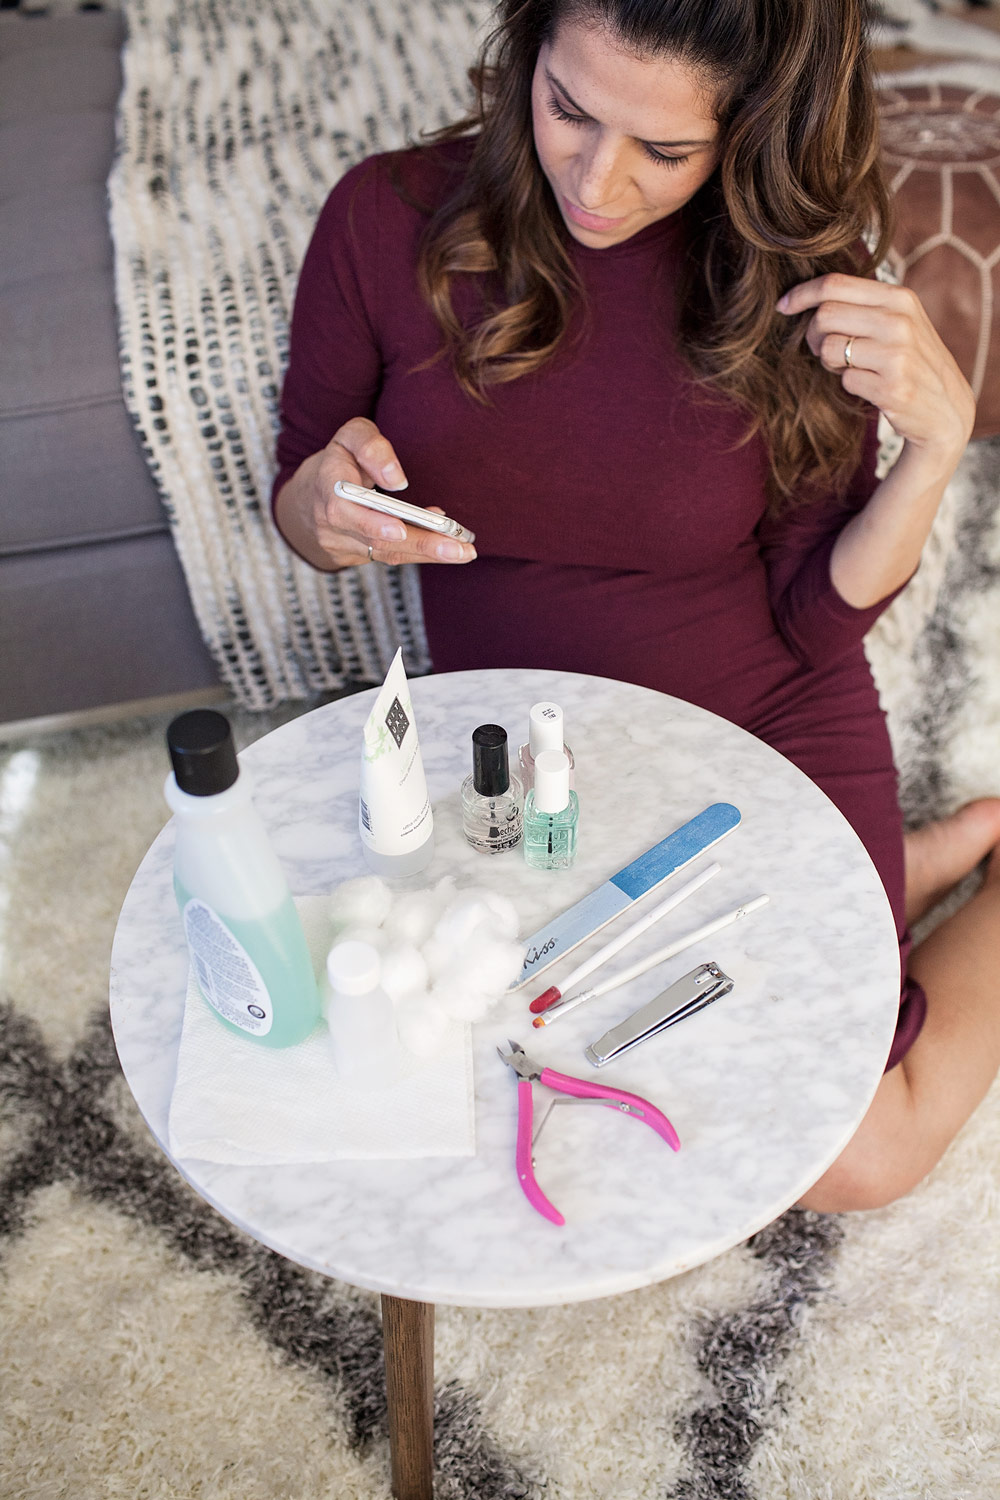
I typically do my own mani a few times a month. I’ve found with this routine, they generally last for over a week. There are a few tricks I’ll share that will help keep your polish on for longer than usual (yes, longer than the salon). Now for the necessary tools…
The Ingredients:
- nail clippers
- nail file
- cotton balls
- nail polish remover
- small bowl + water
- cuticle pusher + remover
- hand cream
- rubbing alcohol
- paper towel
- base coat
- nail polish
- top coat
- eyeshadow brush
- cuticle oil
The Steps
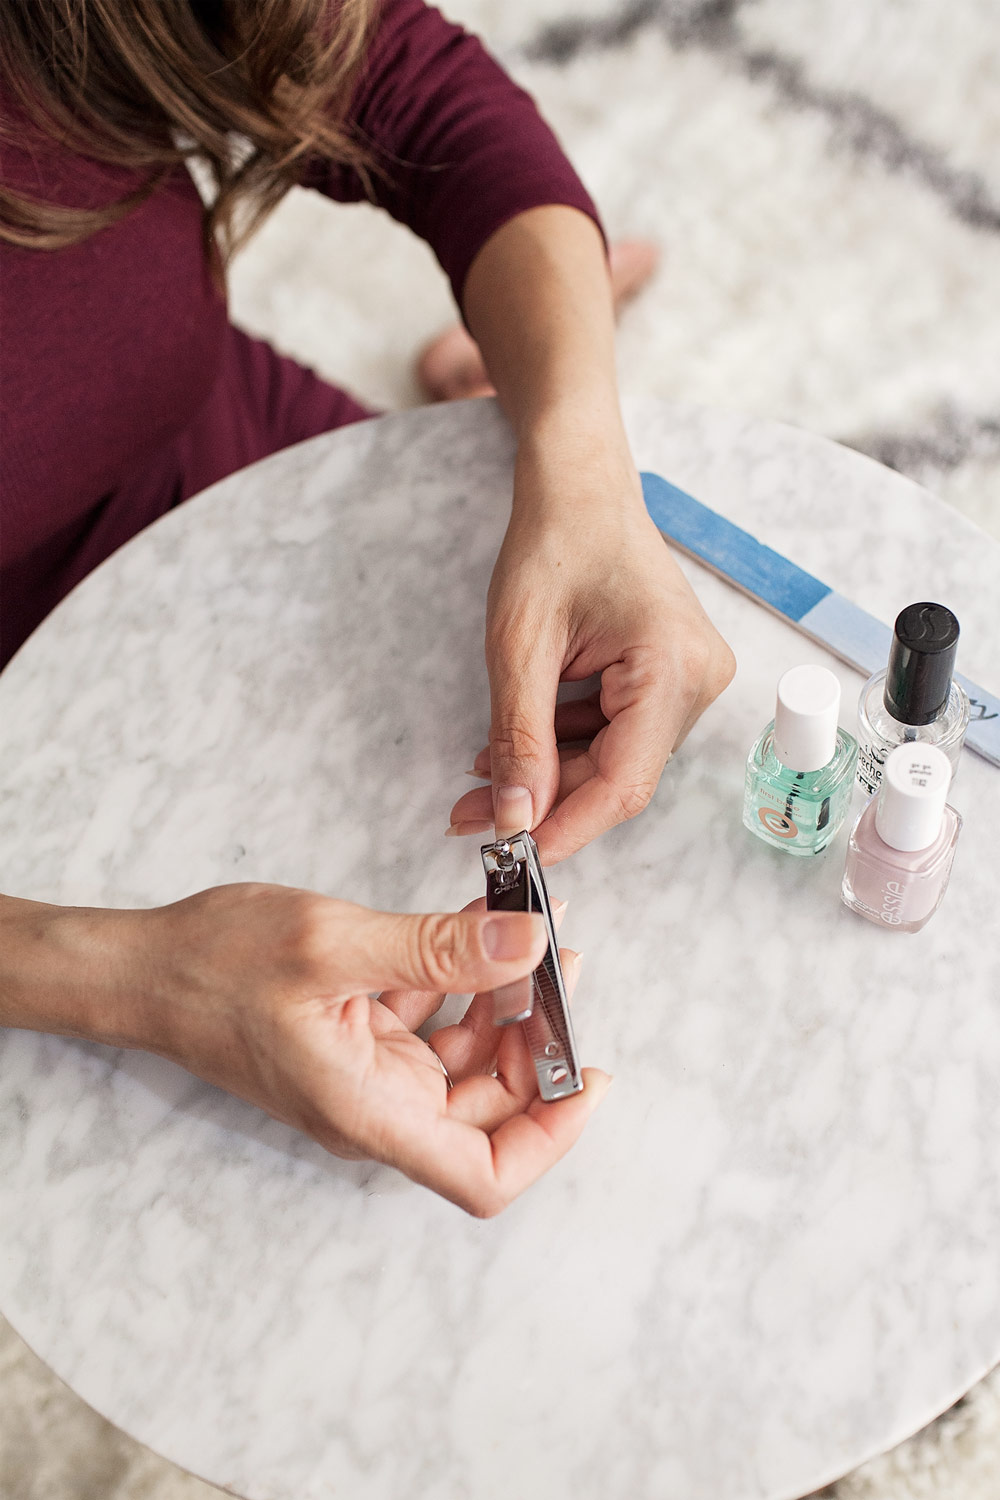
Step 1 Not pictured, but I removed all the remaining polish from my nails. If necessary, clip all your nails to the same length.
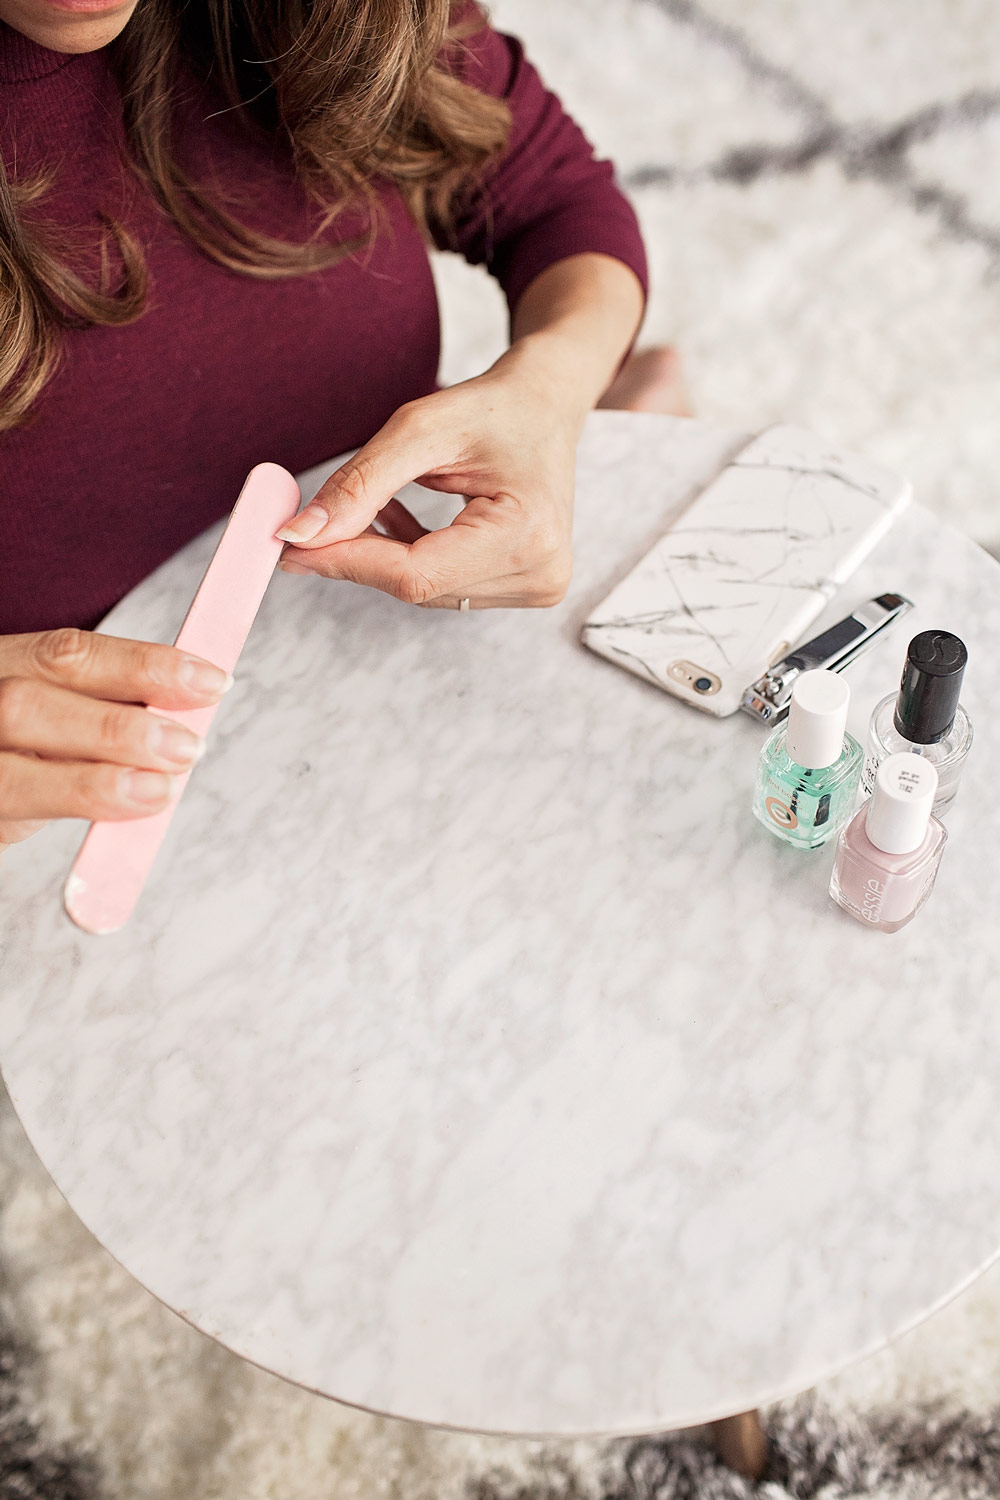
Step 2 Use a nail file to shape and smooth out any jagged edges. This Kiss 4-Way Nail Shaper is my favorite! It gives you four different grits to file your nails. Right now, I’m loving pointed nails as it makes my fingers look a little longer. You can also do square and rounded edges. Filing your own nails does take some practice and I’m still perfecting it myself. So don’t get discouraged as they’ll eventually start to look uniformed and the way you intended.
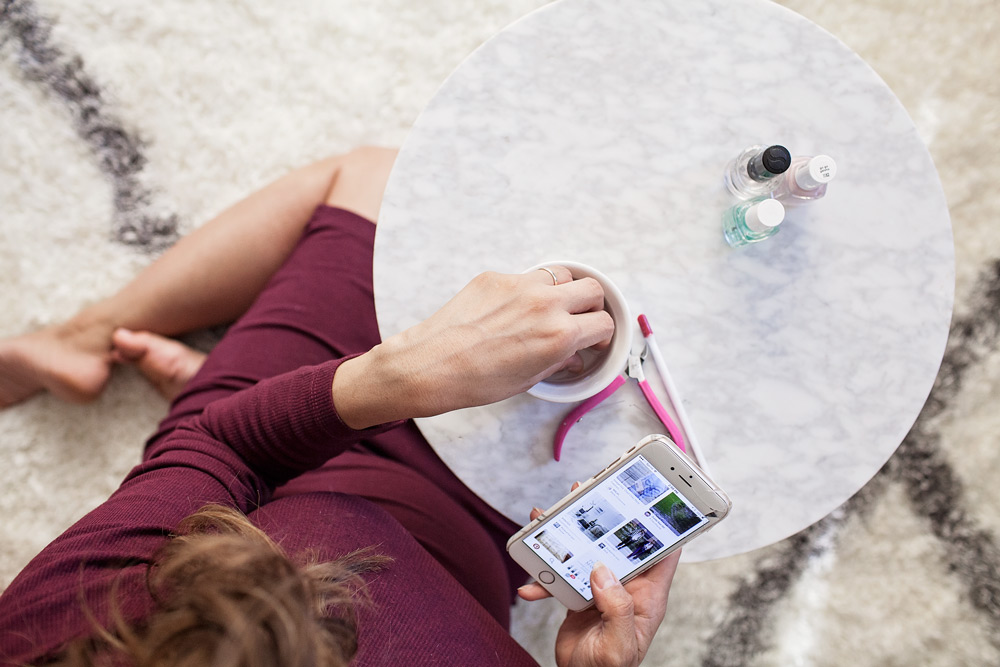
Step 3 Soak your nails in water for 2-3 minutes. This softens up your cuticles to be pushed back and/or cut. I know some people don’t recommend cutting your own cuticles, but after years of practice, I have confidence in my cuticle cutting! Just be careful and clean your tools before/after each use.
Step 4 Push back cuticles with cuticle pusher. I prefer to use a soft cuticle pusher, less risk of over pushing on my cuticles.
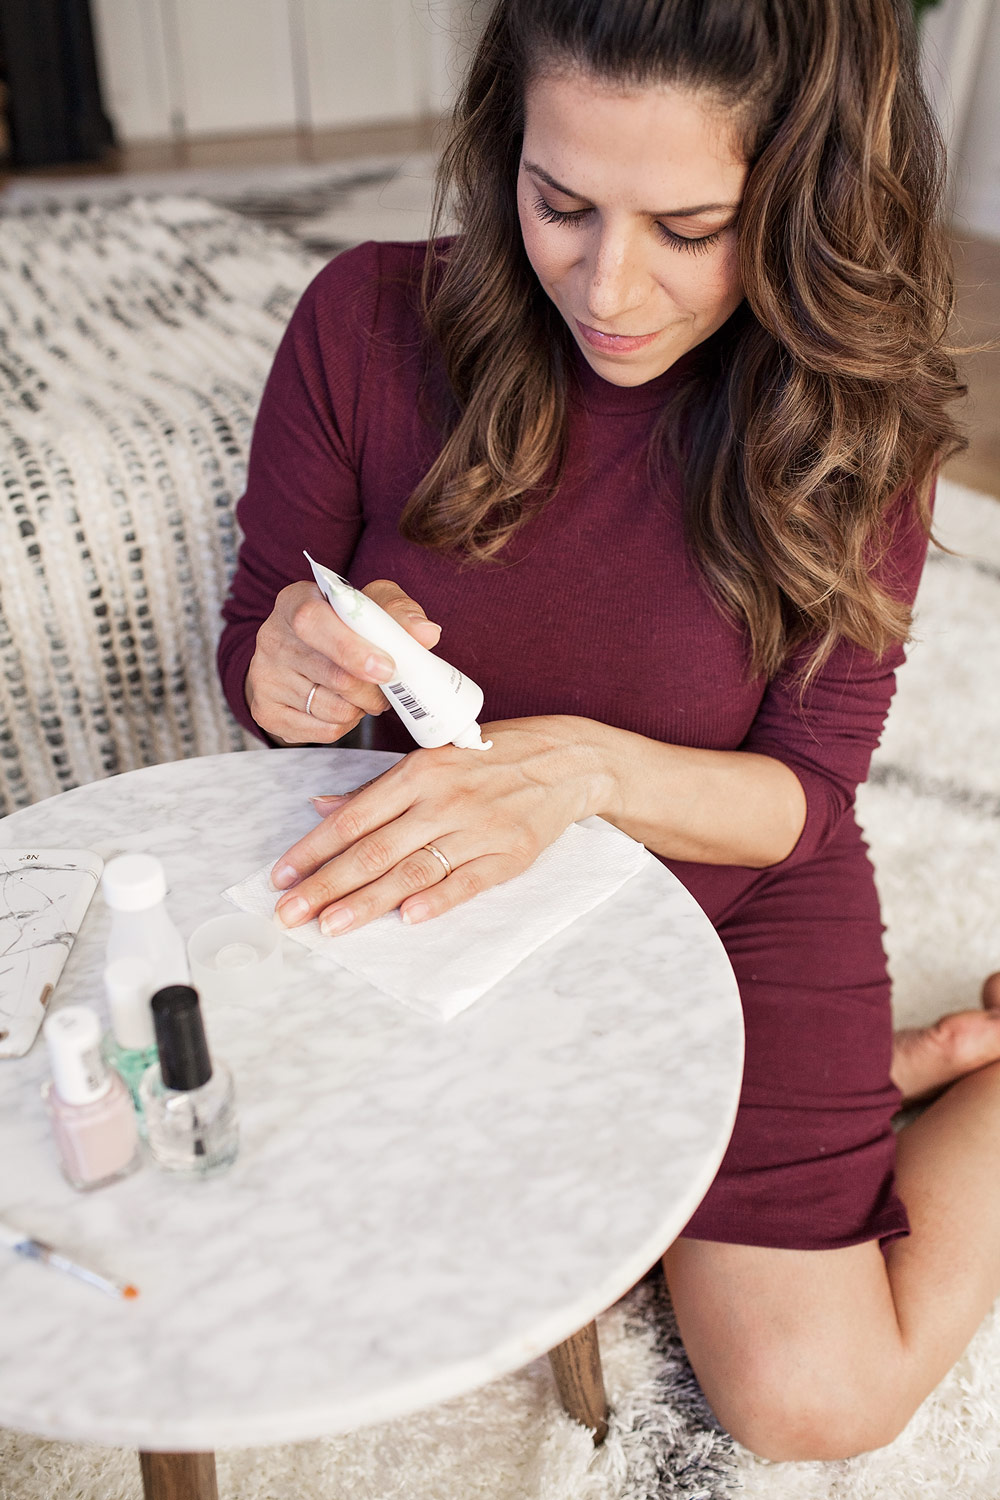
Step 5 Moisture hands with a rich hand cream. The lotion will continue to keep your skin soft and hydrated. If you feel it necessary, go ahead and exfoliate before moisturizing as well.
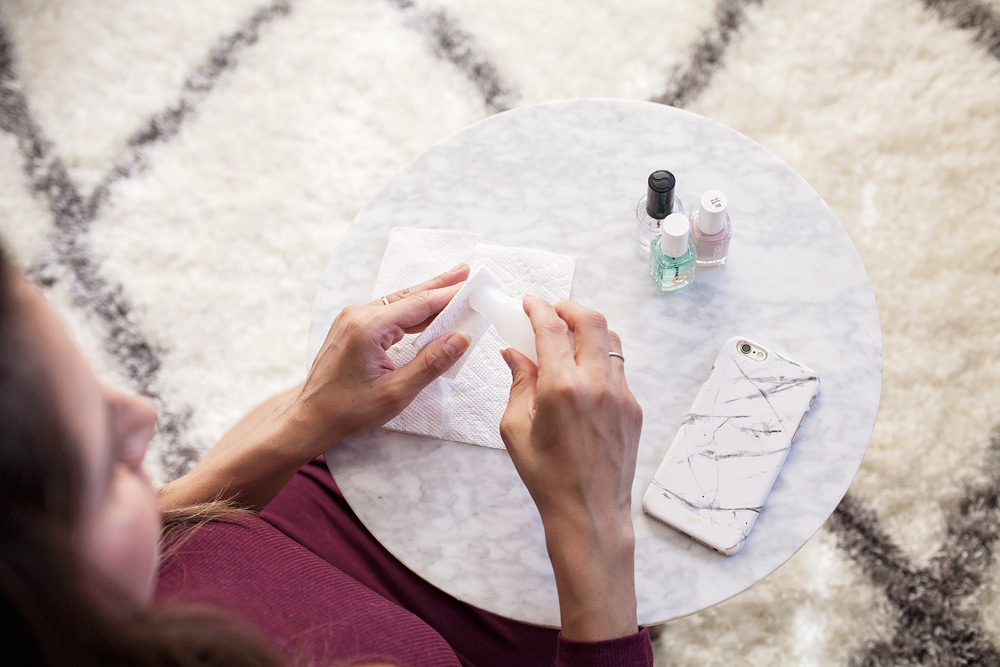
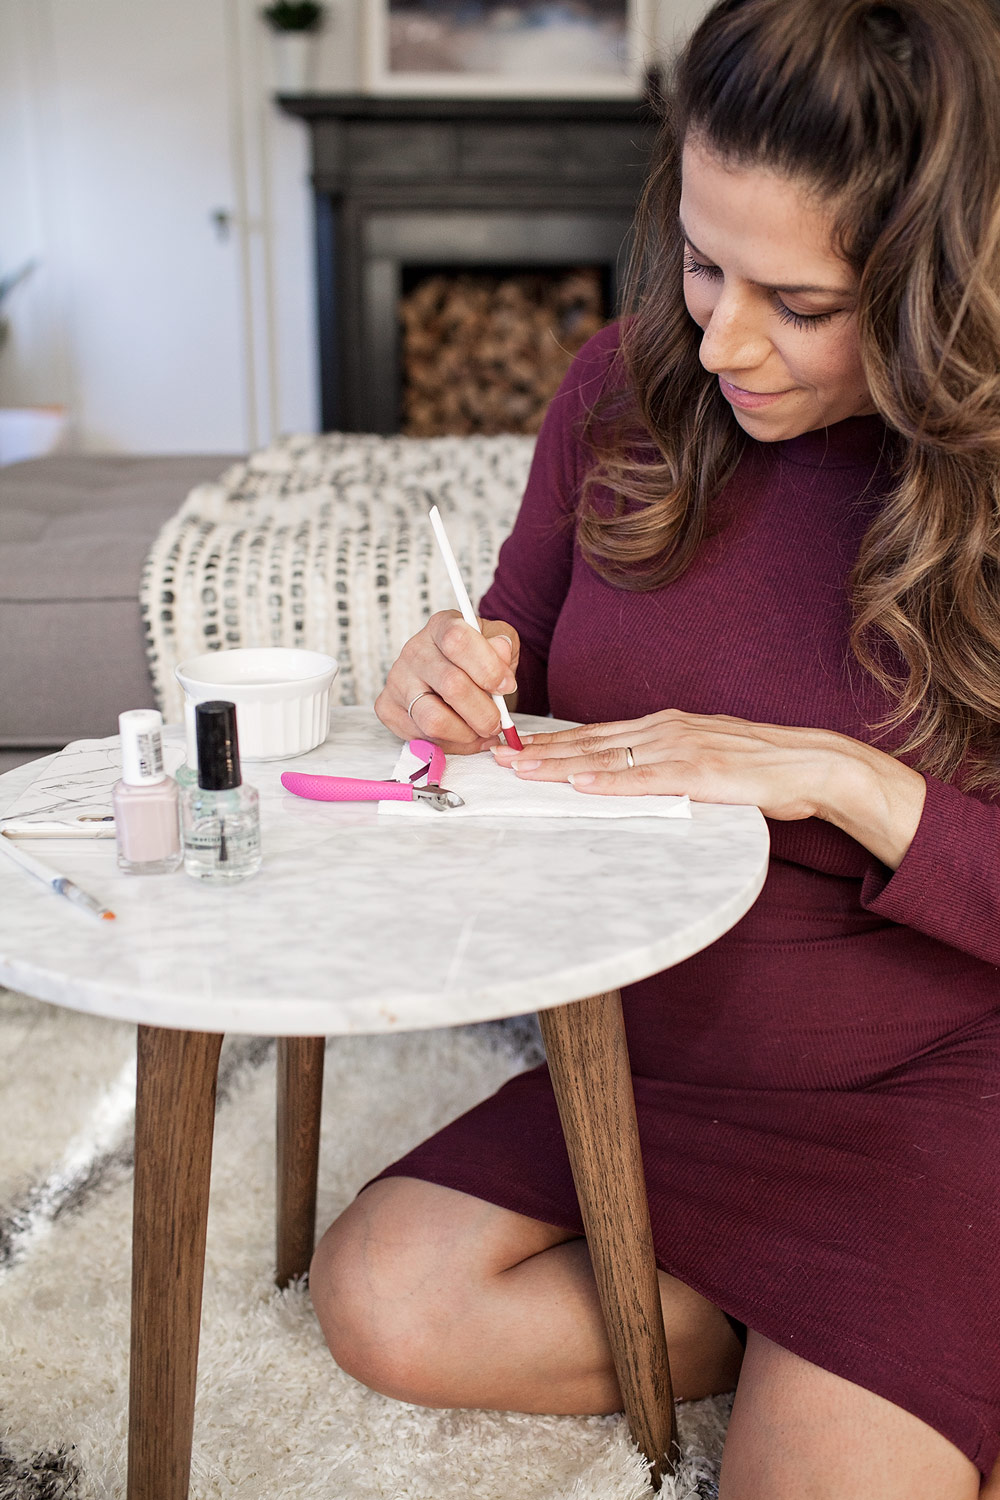
Step 6 In my opinion, this is the most important step. Use a paper towel and rubbing alcohol to dry out the nail bed. I’ve found this works better than using acetone. When I do get my nails done at the salon, I take this little bottle of rubbing alcohol with me. The nail esthetician always gives me a funny look, but it works better than acetone at the salon. Also, make sure you use a paper towel when wiping down your nail beds. The cotton balls tend to leave behind remnants on your nails and will lead to a sloppy finished product.

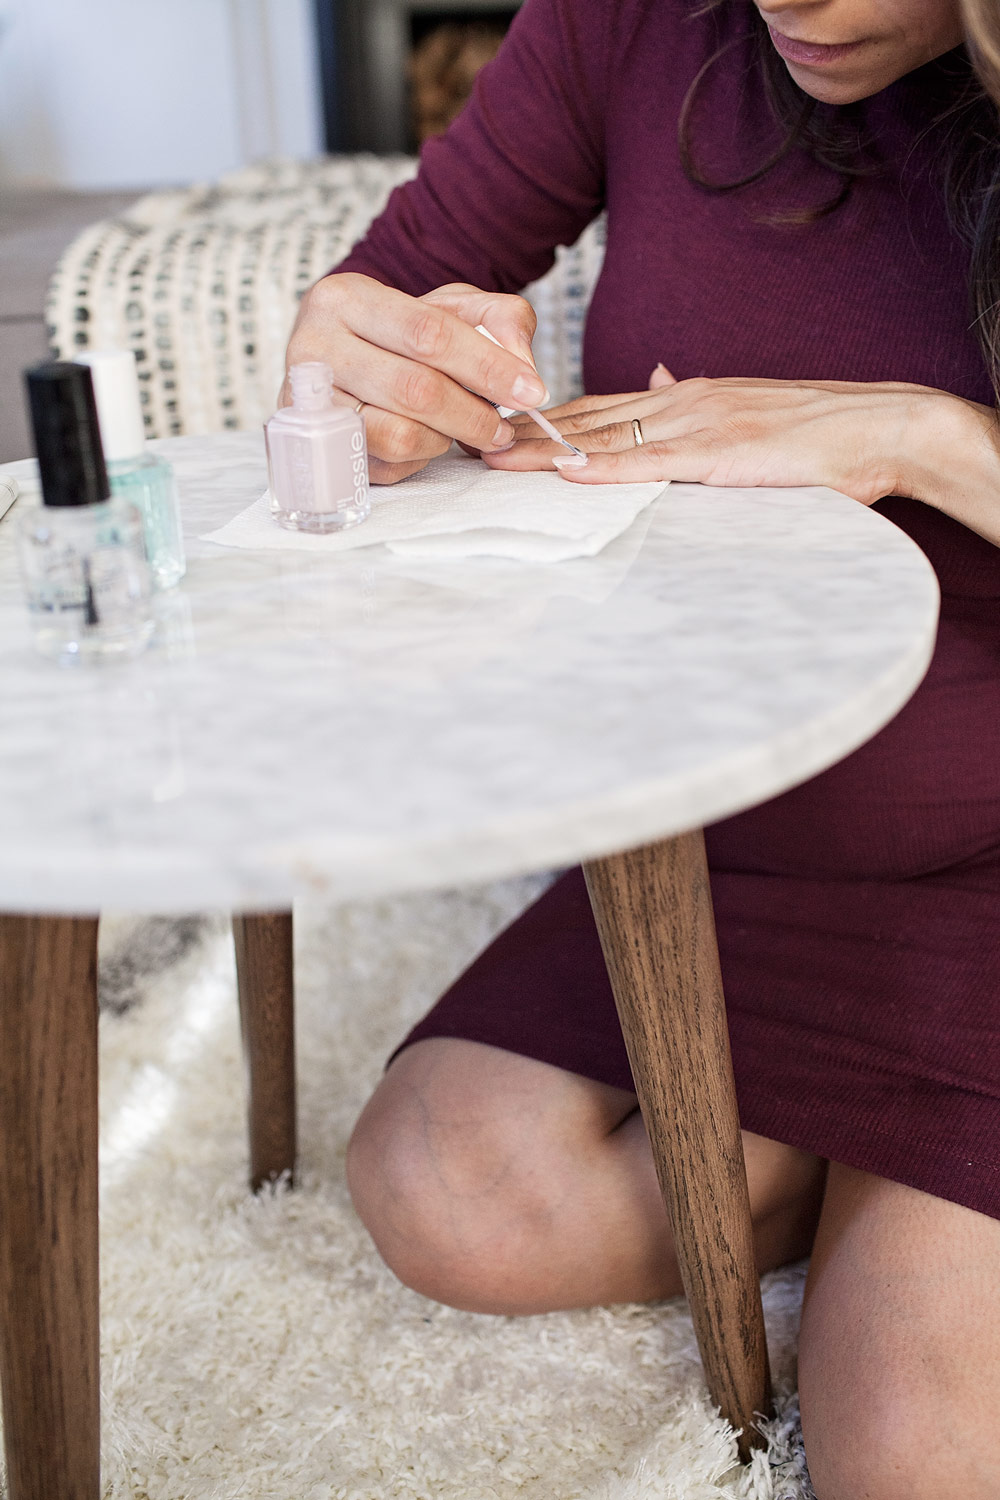
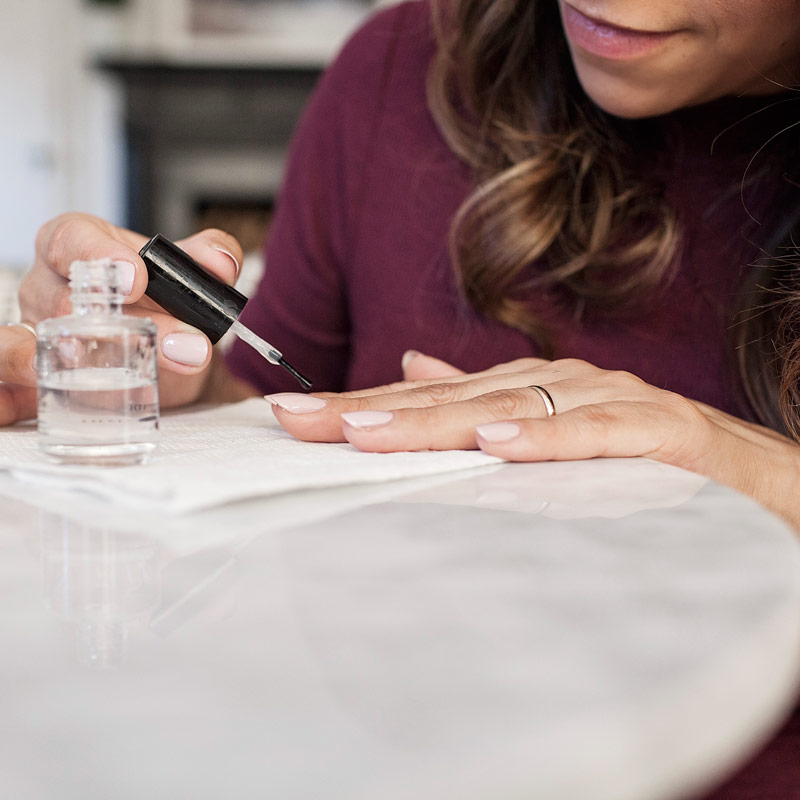
Step 7 Apply a thin layer for your base coat. My personal favorite is the Essie base coat. If it gets too thick, buy a nail polish thinner (what I use). It will make your polishes last 2x longer and your manicures look 10x better!
Step 8 Pick out your favorite color! This is the best part but can also be the most stressful. So many options!! I love trying out new polishes and new colors. I’m not 100% devoted to Essie, but I like the consistency of the polish. I’m wearing Go Go Geisha, which is part of their Fall 2016 Collection.
Step 9 Last, but not least…the top coat! The Seche Vita Fast Top Coat is the only top coat I use on my nails. It seals in the polish and is very forgiving with any imperfections in the nail coats. My only word of caution, if the polish gets too thick it will not dry properly and will give you tiny bubbles in your nails. I’d highly recommend either buying the Seche Thinner Restore or using other nail polish thinner. This is another product I take with me to the nail salon.
Let your nails dry for 10-15 minutes.
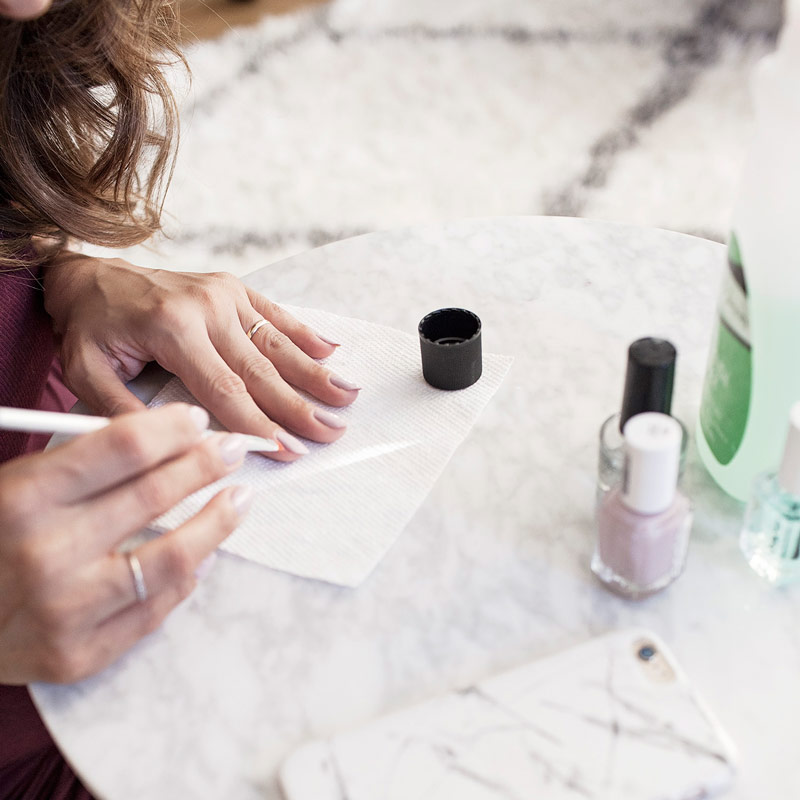
Step 10 After your nails has dried, you can remove all polish around your nail bed with a small eyeshadow brush (pick one up at the Dollar Store) and nail polish remover. When completely dry, brush on cuticle oil around your nail bed and massage into cuticles. One last tip, try and remember to keep cuticle oil and lotion at you desk, your hands will always feel smooth and your cuticles will stay soft.
Would love to hear any secrets for the perfect at-home mani!
xo, Olivia
I don’t know about you, but I find doing my nails to be a super mindful exercise. It’s like meditation for me!
Yes! Not sure how i missed this comment, I 100% agree!
I’m obsessed with Seche Vita Fast Top Coat too…simply the BEST! Great tips, Olivia—Especially the one about he eyeshadow brush!
Essi is beautiful. Love this color.